From the cutting of the stainless steel to delivering a unique Deejo that resembles only you: How to make a Deejo knife in 40 steps.
01/04/2022
Lovers of our pocket knives or just curious by nature, many of you may wonder about the techniques Deejo uses to make its knives. Sold in more than 40 countries around the world in the hundreds of thousands, with quality mastered from start to finish, Deejo knives owe their success to the process and workmanship of their production.
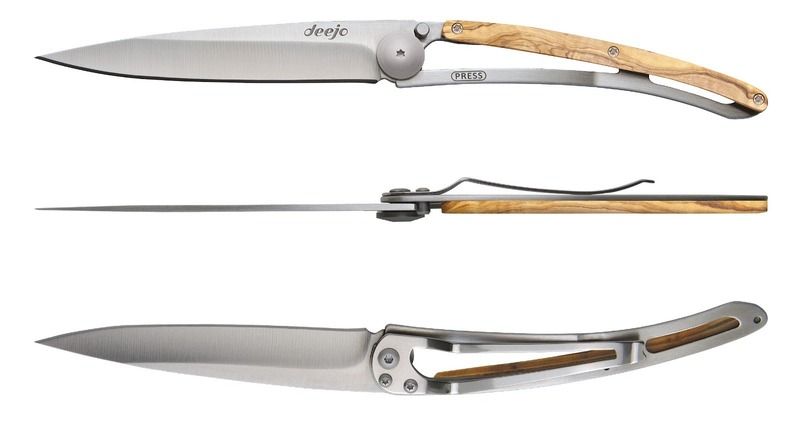
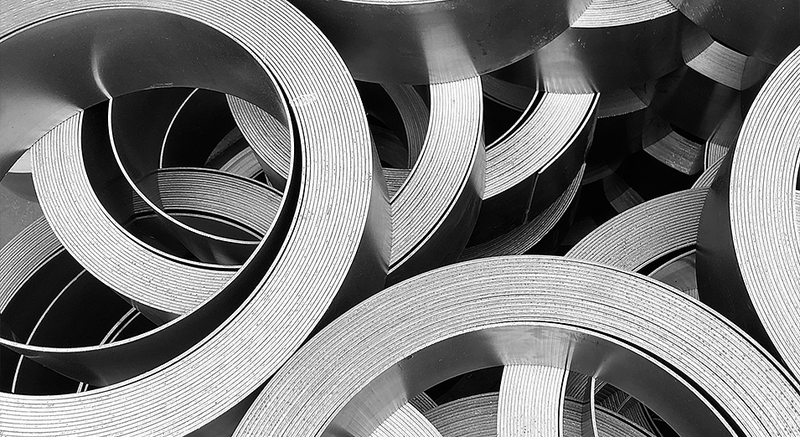
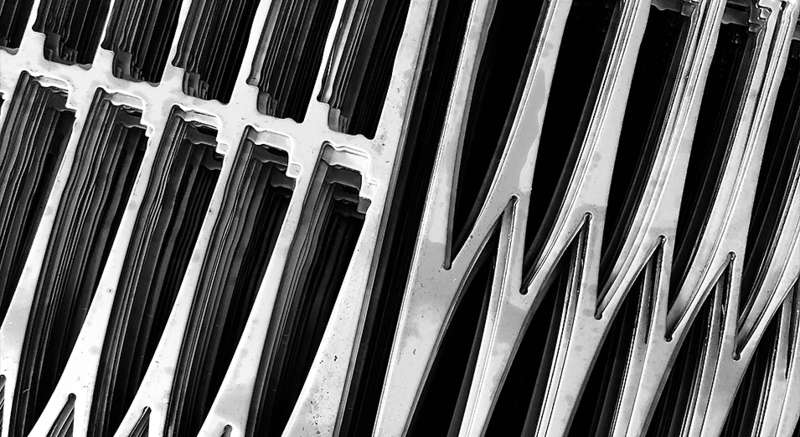
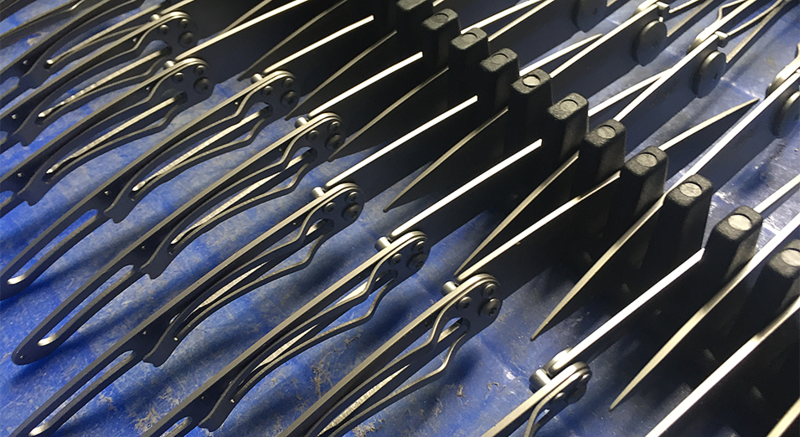
In the beginning there are simple rolls of stainless steel sheets (Z40C13). Cut by means of powerful precision pressing, exerting a pressure of several tons, each piece is drilled, polished and then carefully worked before our operators manually assemble the 15 components that comprise a Deejo knife. In choosing a screw assembly, Deejo ensures full and easy maintenance in the assembly of its knives.
Resolutely contemporary, Deejo navigates at the crossroads of the latest technological advances, guaranteeing consistent quality: A passion for a job well done is at the heart of every Deejo knife.
The production of a Deejo knife begins with the realization of powerful mould cutting. Starting from 3D modelling and technical drawings, we electrolytic machine steel blocks weighing several kilos to obtain the die cuts that make up the composite parts of our knife, the 3 principal pieces being the belt clip, the handle and, of course, the blade. Each die cut is made up of 2 imprints: one positive, the other negative.
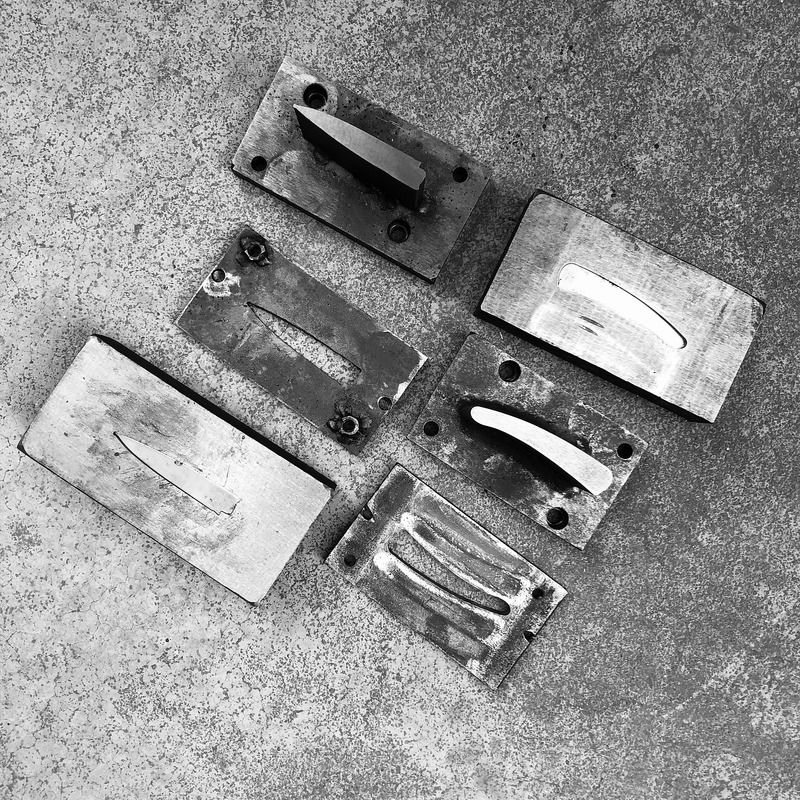
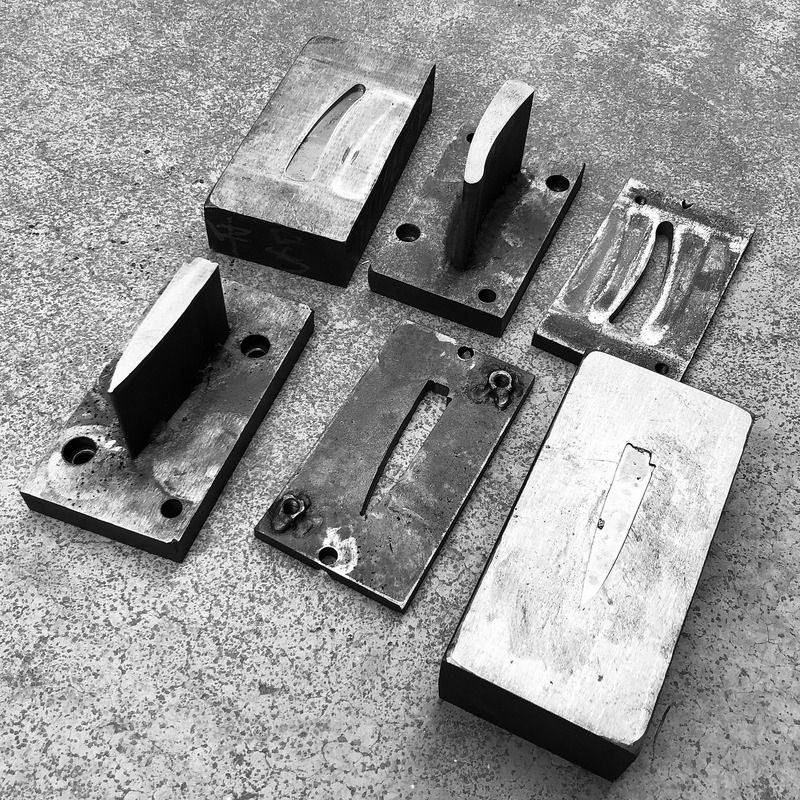
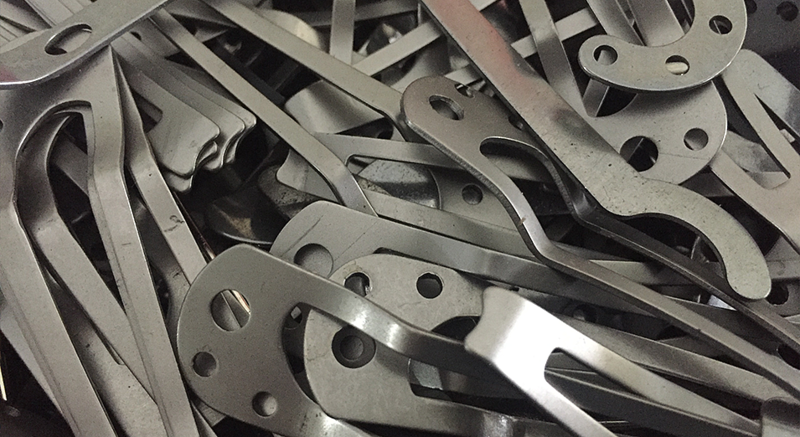
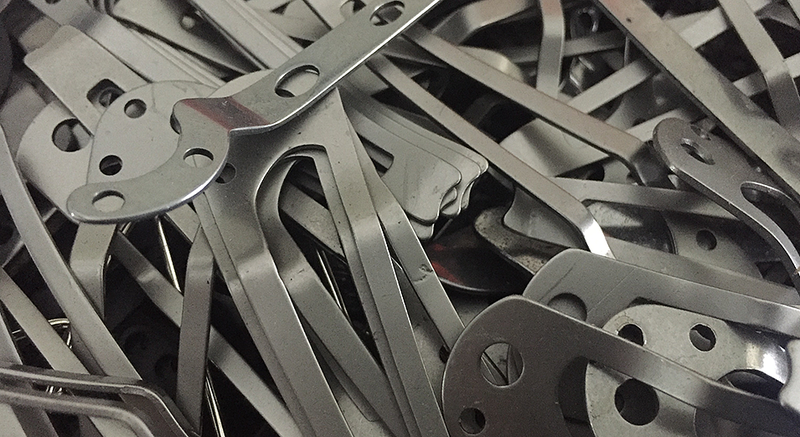
The production of a Deejo knife therefore begins with the cutting of steel bands, of varying thickness and nature according to the parts concerned.
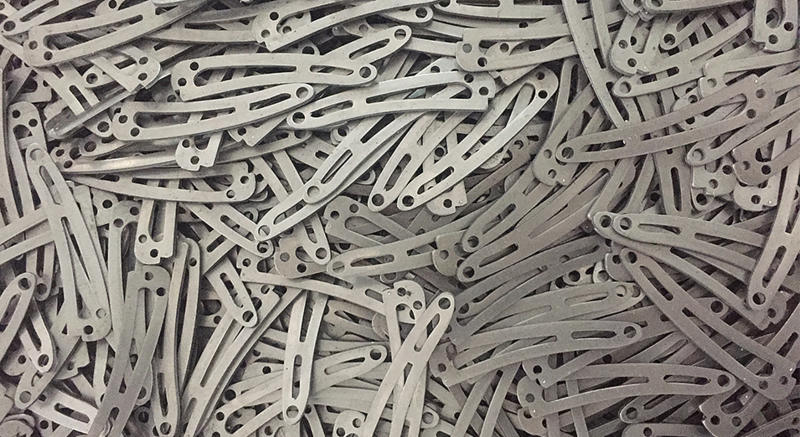
The belt clip (7 steps):
1. Cutting the part
2. Drilling the holes
3. Annealing: The piece is gently heated then slowly cooled to make it resilient and to avoid breakage before it is shaped (as this section of steel is relatively fine).
4. Shaping: The piece is struck with a new die to give it its final shape.
5. Heat treating: The piece is heated in ovens at very high temperatures and then cooled abruptly to give it the necessary rigidity (and the spring effect necessary for it to function properly).).
6. Tumbling or tumble polishing: The parts are cleaned of mill scale from heating in the ovens and then passing several hours in a tumbler filled with ceramic media.
7. Titanium treatment or polishing depending on the product of the clip, a Deejo titanium or mirror, to give this piece the aesthetic finish that you see on all our knives made.
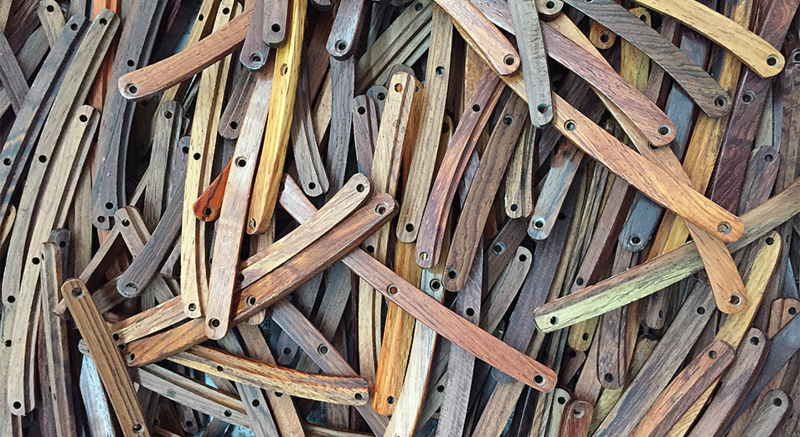
The handle (17 steps):
1. Cutting the part
2. Cutting the holes
3. Flattening: The parts are passed one by one between 2 metal rollers to correct any plan deviations resulting from the previous step.
4. Drilling / threading: we drill and machine work the holes intended for the screws.
5. Surface polishing
6. Milling edges: we remove any cutting residue and burrs from all the interior and exterior edges of the handle.
7. Heat treating (see above)
8. Polishing the angles: each angle is polished to give it a light chamfer so that no angle is sharp and ultimately for a good grip on the handle.
9. Tumbling or polishing in a tumbler (see above)
10. The first cut of the ‘frame lock’ system: This is a fine notch at the base of the handle.
11. The second cut of the ‘frame lock’ system: This is a second cut at the base of the handle (to not weaken this part, this step is carried out in 2 stages).
12. Titanium treatment or polishing depending on the product, Deejo titanium or mirror.
13. Installation of the metal ball that makes up the locking mechanism: a steel micro-ball will be positioned in a hollow made for this purpose in the blade so that the blade remains securely locked against its handle in the closed position.
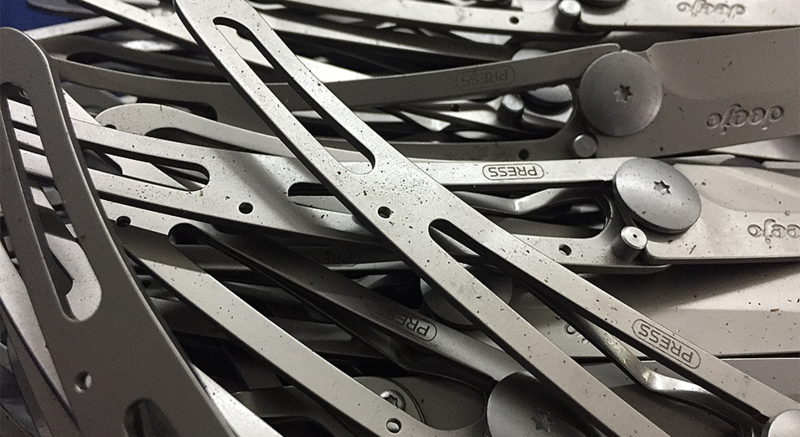
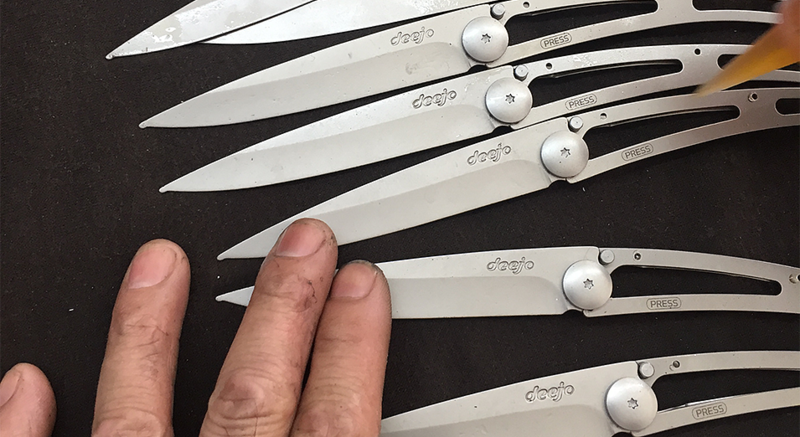
14. Laser engraving of the ‘press’ logo, a characteristic feature of our knives, indicating to our customers where to press to close the knife safely.
15. Shaping the piece: The de-formation of the handle base which will keep the blade locked when in the open position, by virtue of the spring effect created.
16. Adjusting the force of the spring effect of the handle base.
17. Mounting the belt clip on the handle (screwed by hand with 2 screws).
The blade (12 steps)
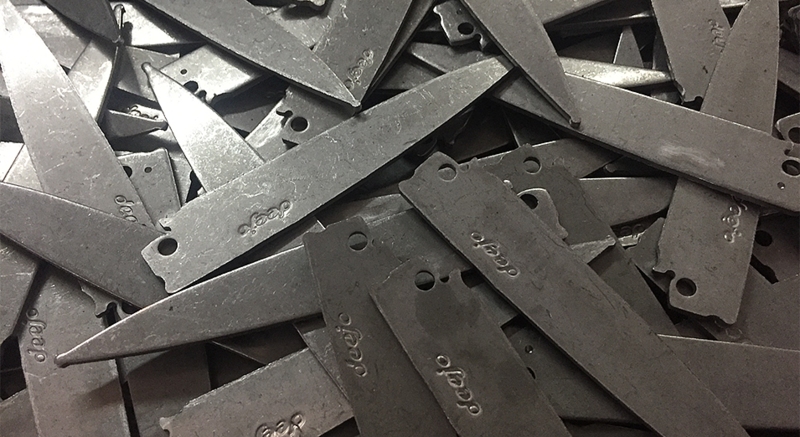
1. Cutting the part
2. Embossing the Deejo logo: We strike the blade with a tool that embosses the Deejo logo on the blade.
3. Flattening (see above)
4. Cutting the central axis hole to create the articulation of the pivot point of the knife.
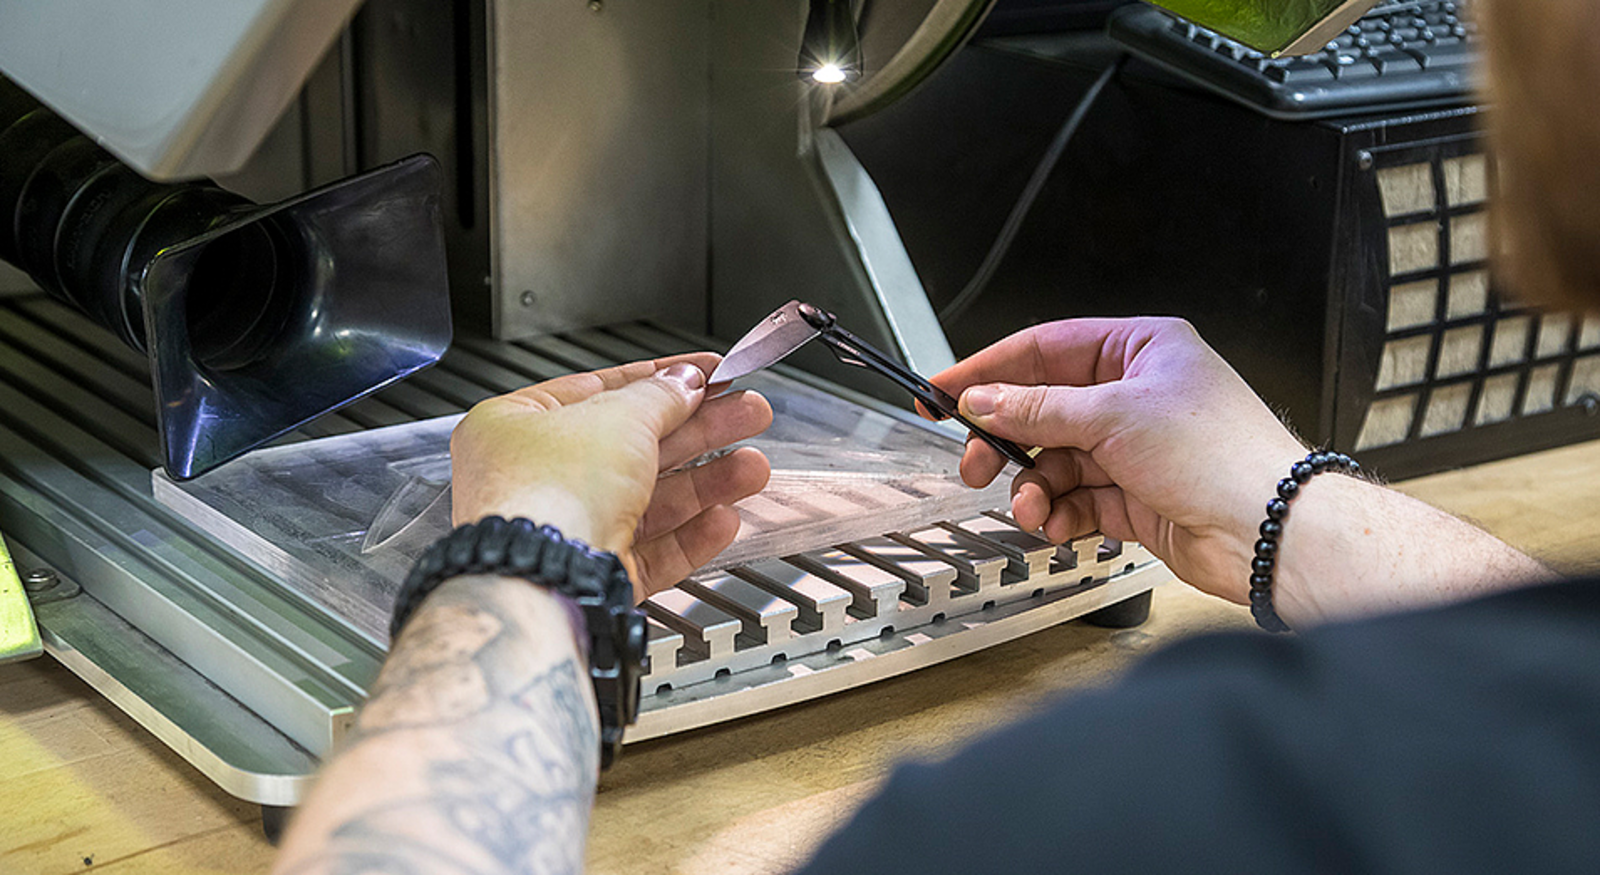
5. Cutting the base of the blade: this is a precision cut necessary for the correct functioning of the ‘liner lock’ mechanism, characteristic of Deejo knives. This step requires extreme precision to ensure the proper functioning of the mechanism.
6. Surface polishing
7. Heat treating (see above).
8. Polishing the angles on the top of the blade: each angle is polished to a slight chamfer so that no angle is sharp on this side of the blade used to support your finger during use.
9. Tumbling or polishing in a tumbler (see above)
10. Rough cut of the grind: the creation of a bevel at the lower part of the blade.
11. Grind of the blade. Initially performed entirely by hand by highly qualified workers (the quality of the fine cutting edge of the blade depends on this step), this step is now automated by means of machines that offer a consistent result guaranteeing the quality of our blades.
12. Titanium treatment or polishing depending on the product, Deejo titanium or mirror.
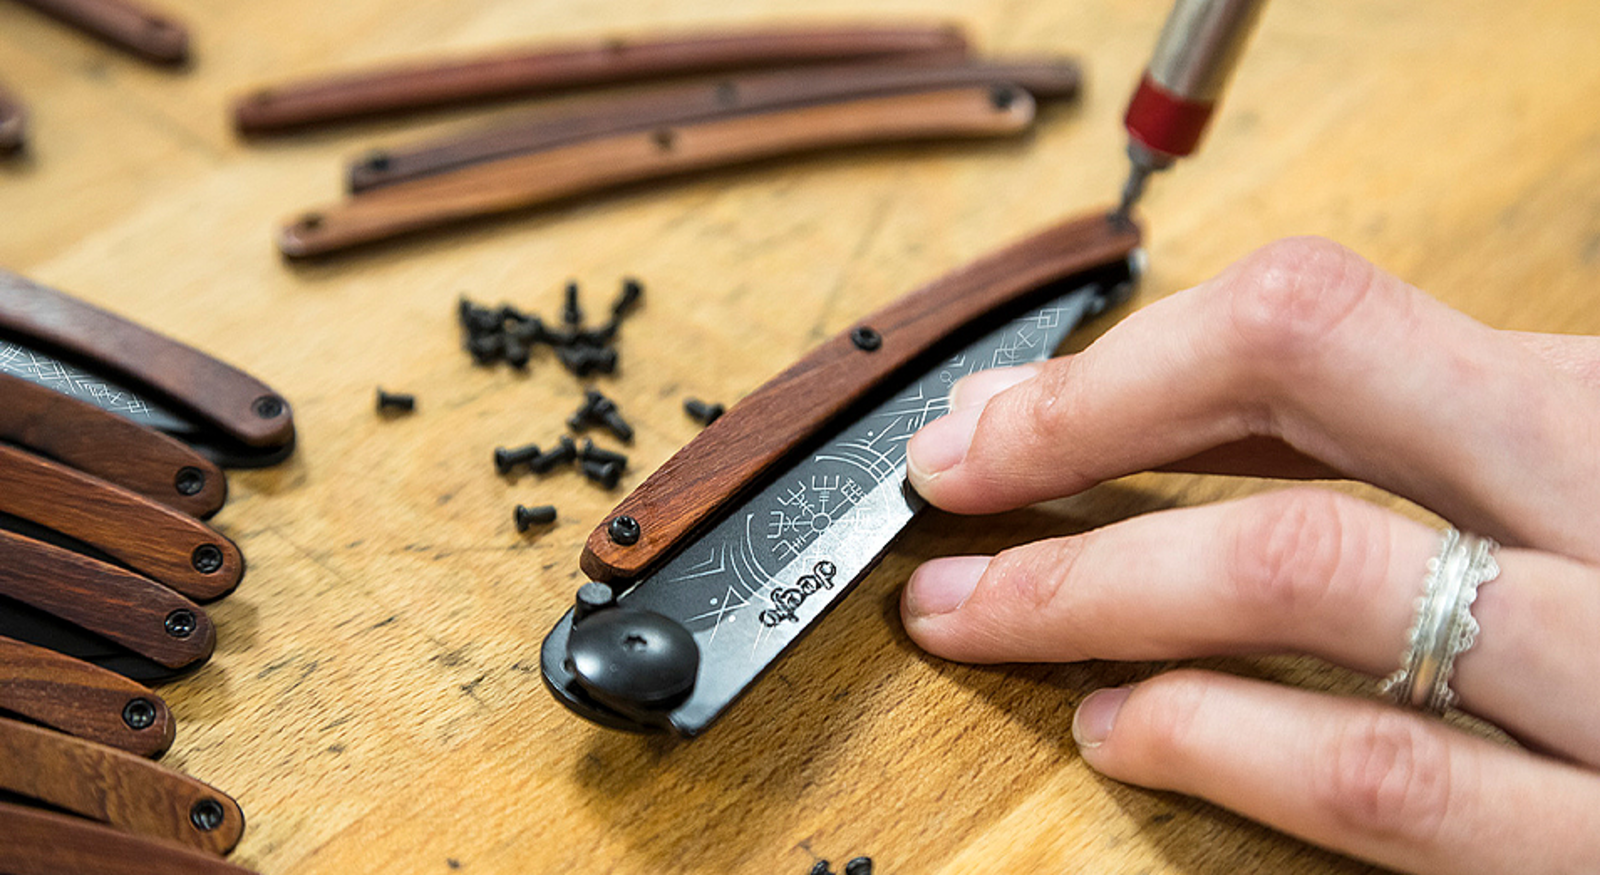
All that remains is to assemble the blade and handle using the pivot screw. This step is performed by hand by a qualified operator. The ‘liner lock’ mechanism, characteristic of Deejo knives, requires impeccable precision. The blade stop which will hold the blade horizontally in the open position is finally screwed into its dedicated location.
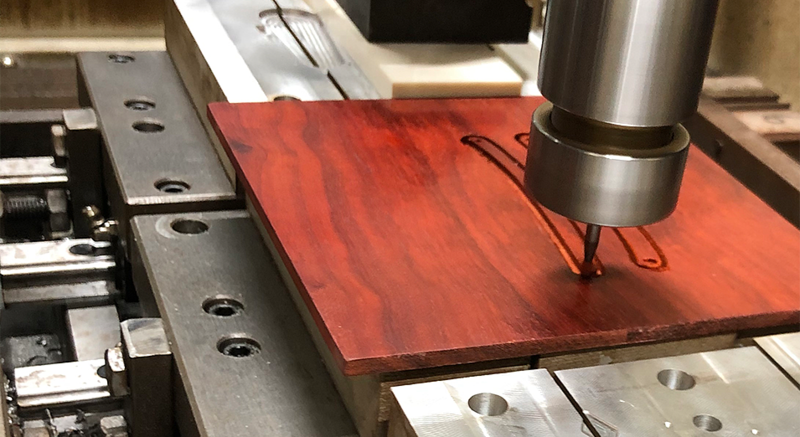
Finally, it is time to sharpen the blade (performed as the final step for obvious reasons) and to screw the handle (electrolytic machined then drilled on our CNC machines) before completing a final polishing and quality control.
Each knife is now ready for the very final production step: engraving the tattoo on the blade. This final step comes from the original designs created by our illustrators using laser engraving machines of formidable precision. The models in grey titanium and mirror will be burnt on the surface then cleaned, giving the tattoo a light bas-relief effect, perceptible to the touch and guaranteeing the longevity of the engraving. On the black titanium models, the laser causes the black titanium coating to react to reveal the selected pattern on the blade.
Boxed and packaged, the Deejo knife is sent to our 10,000 retailers around the world before finally finding its place in your pocket!